
Snowbits AI Kickstart: Set Up Snowflake Notebooks for Cortex AI in 5 Minutes
Part 1 of Your Snowflake Notebooks series - Begin your AI journey using Snowflake Notebooks with this step-by-step setup guide, covering roles, schemas, and workflow optimization.

Your Snowflake Notebooks Part 1 — Set Up Native Snowflake Notebooks in Under 5 Minutes
Hey there! You've come to the right place if you’re new to Snowflake or looking to streamline your workflow. Setting up Snowflake native notebooks is a game-changer, especially if you’re starting with AI or data science.

I’m here to guide you through the setup process, ensuring you have everything in place to unlock the full potential of your Snowflake environment.
Setting Up a Custom Schema and Role
Before we dive into Snowflake Notebooks, it’s crucial to lay a strong foundation. A custom schema and dedicated development database will help you manage your data effectively, keeping your development work separate from production. This setup enhances security and keeps your workspace clean and efficient. We’ll start by creating roles, defining key variables, and configuring databases and schemas.
Step-by-Step Guide
Step 1: Define Variables
Let’s begin by setting up some variables that will keep your configuration consistent and easy to manage:
-- Define variables
SET ROLE_NAME = 'your_role_name';
SET DATABASE_NAME = 'your_database_name';
SET SCHEMA_NAME = 'your_schema_name';
SET GIT_USERNAME = 'your_github_username';
SET GIT_TOKEN = 'your_github_token';
SET GIT_REPO = 'https://github.com/your_org/your_repo.git';
Step 2: Create Roles
Next, you’ll want to create roles to manage access control:
-- Create the role
CREATE ROLE IF NOT EXISTS IDENTIFIER($ROLE_NAME);
Step 3: Create a Database and Schema
Now, let’s set up your database and schema. This step is essential for keeping your data organized and your workflows smooth:
-- Create the database
CREATE DATABASE IF NOT EXISTS IDENTIFIER($DATABASE_NAME);

-- Create the schema
CREATE SCHEMA IF NOT EXISTS IDENTIFIER($DATABASE_NAME).IDENTIFIER($SCHEMA_NAME);
Step 4: Grant Privileges
Assign the necessary privileges to ensure that your role has the access it needs:
-- Grant privileges to the role
GRANT USAGE ON DATABASE IDENTIFIER($DATABASE_NAME) TO ROLE IDENTIFIER($ROLE_NAME);
GRANT USAGE ON SCHEMA IDENTIFIER($DATABASE_NAME).IDENTIFIER($SCHEMA_NAME) TO ROLE IDENTIFIER($ROLE_NAME);
GRANT CREATE NOTEBOOK ON SCHEMA IDENTIFIER($DATABASE_NAME).IDENTIFIER($SCHEMA_NAME) TO ROLE IDENTIFIER($ROLE_NAME);
GRANT CREATE SECRET ON SCHEMA IDENTIFIER($DATABASE_NAME).IDENTIFIER($SCHEMA_NAME) TO ROLE IDENTIFIER($ROLE_NAME);
Best Practices: Configuring Your Snowflake Notebook
With your schema in place, it’s time to set up your Snowflake Notebook. Choosing the right warehouse and configuring it correctly can save you time and money. Trust me—you don’t want to waste hours of Snowflake compute time on an oversized warehouse!
1. Access Snowflake Notebooks:
Start by navigating to the Snowflake Notebooks tab.

2. Create a New Notebook:
Let’s create a notebook by clicking the “+ Notebook” button. This will create a new laptop, which we will call Notebook Demo. Remember to select your new warehouse.
3. Optimize Settings:
After making your notebook, navigate to the Notebook settings menu and change your “idle timeout” from 1 hour to 15 minutes.

These foundational setups will make your AI workflow smoother and more efficient.
Real-World Application: Automating and Sharing Your Snowflake Notebook
Once your notebook is set up, it’s time to start building! When you’re ready to share your work or move it to production, Snowflake Notebooks makes it easy to automate tasks and collaborate.
• Automate Your Workflows:
You can schedule regular runs of your notebook to keep your reports up-to-date or automate data-cleaning processes.

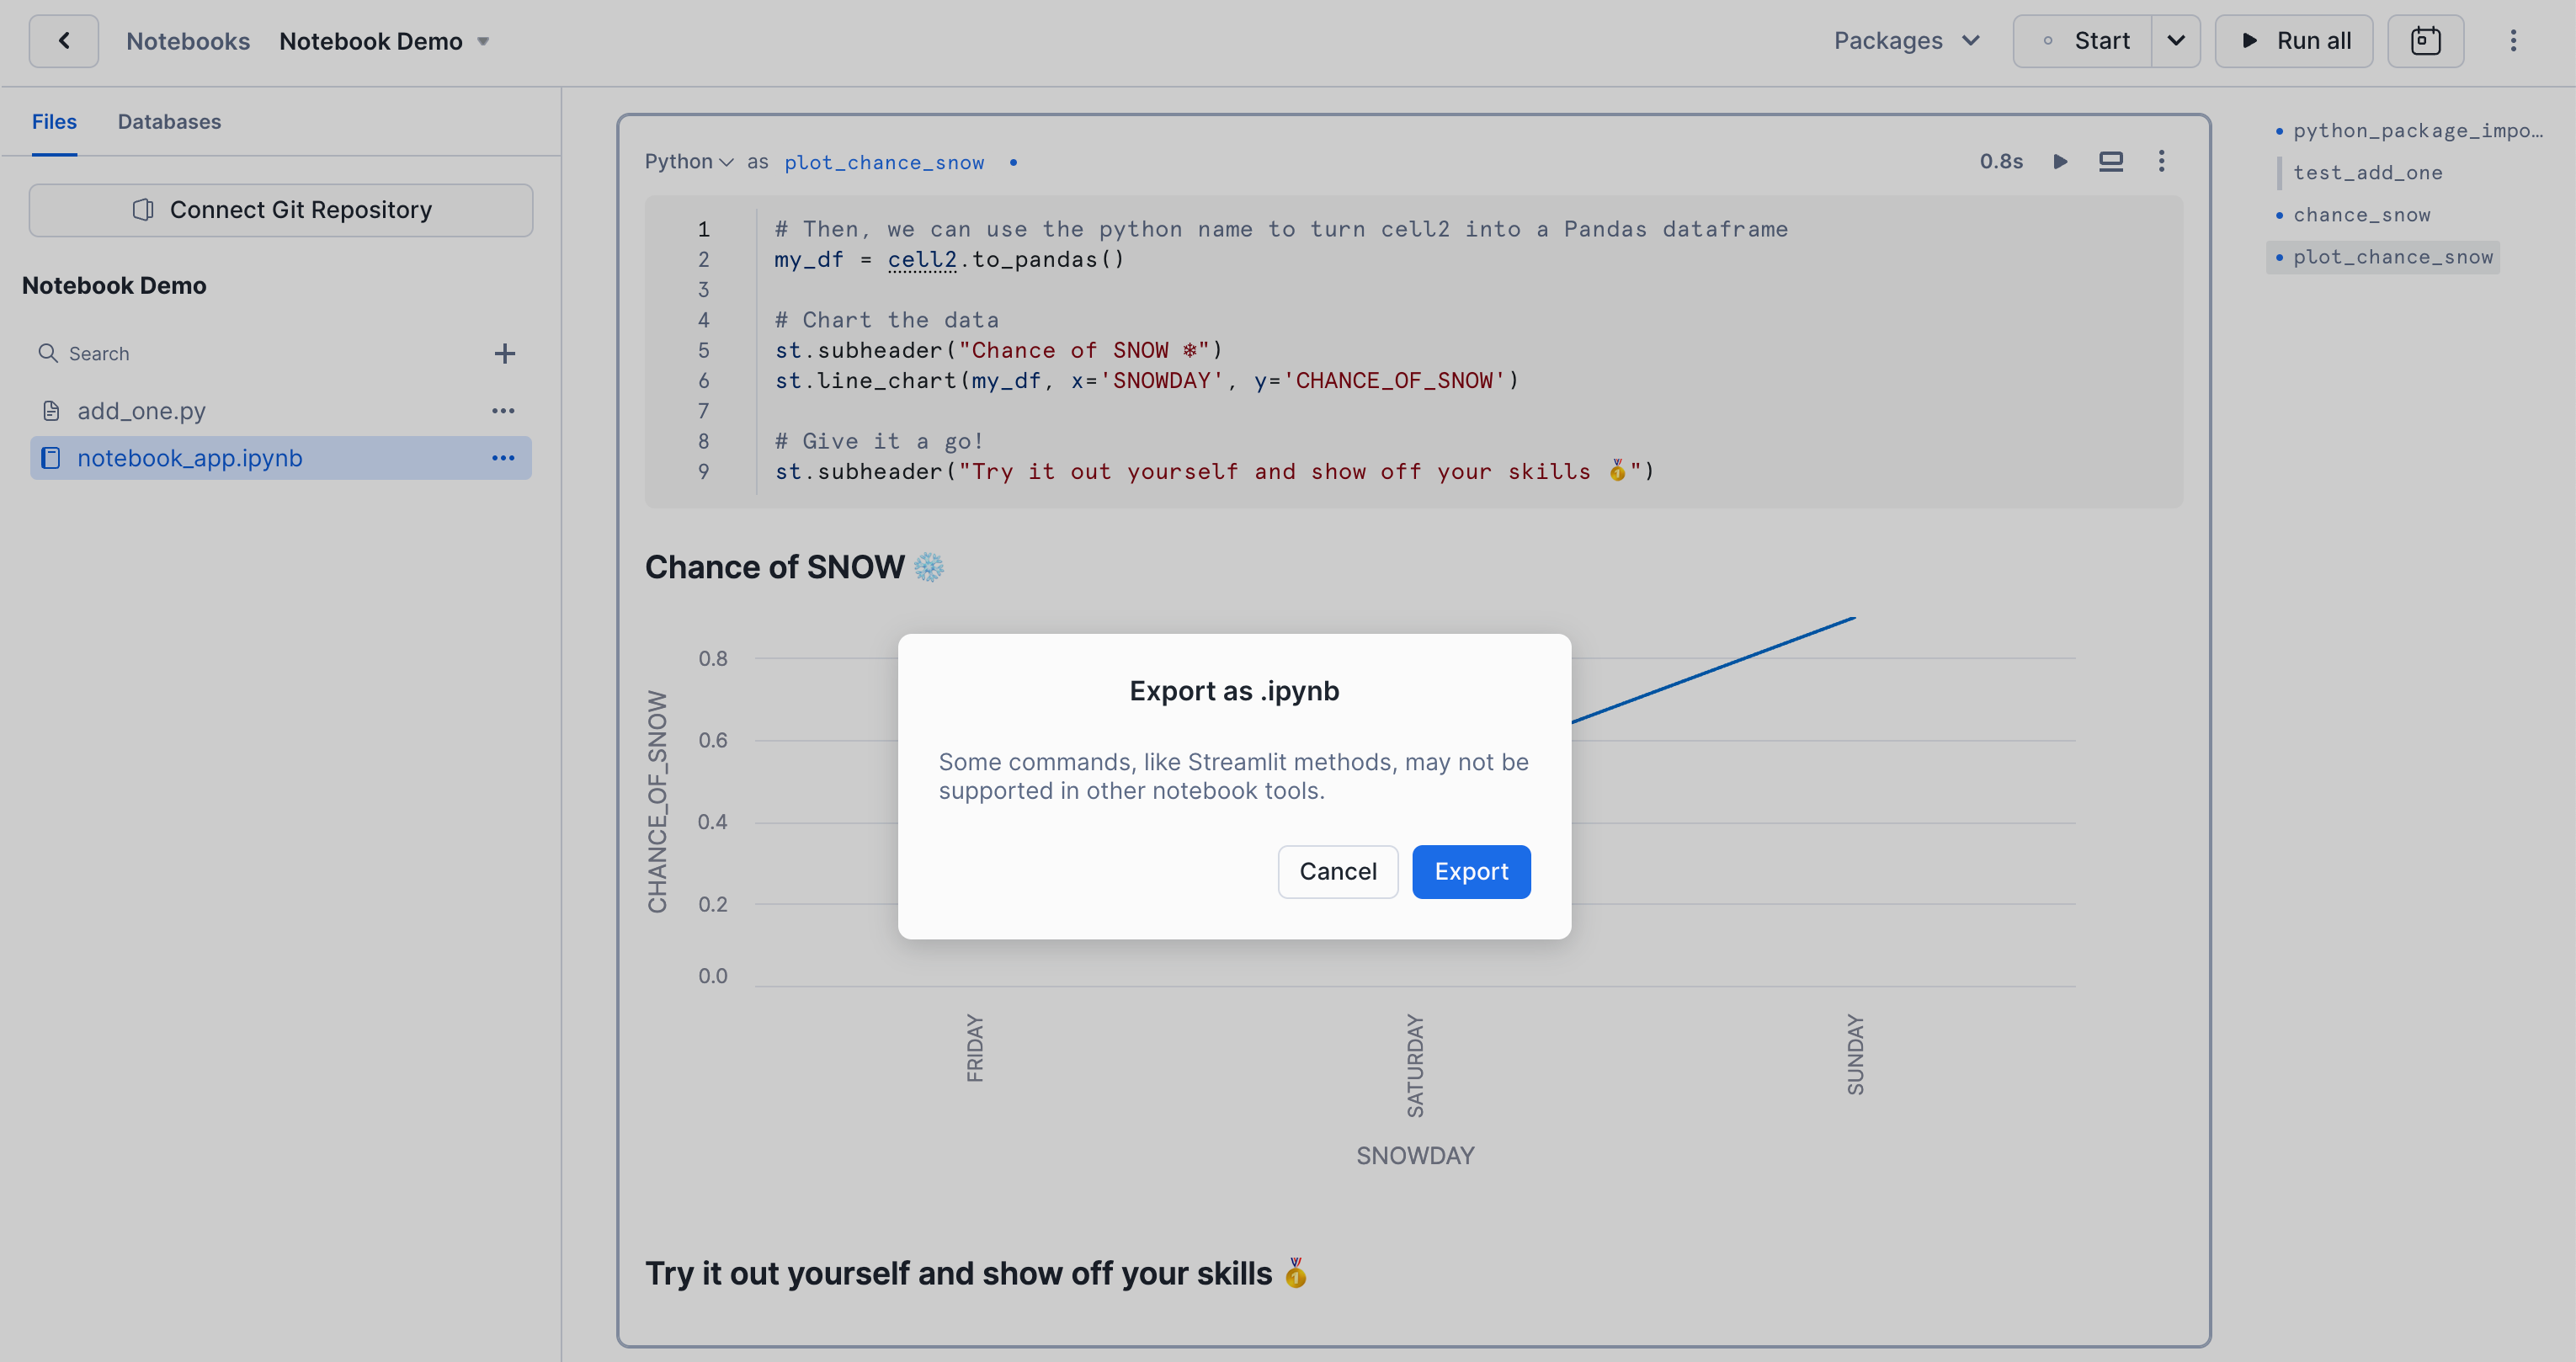
• Export and Share:
Export your notebook to share your analysis with stakeholders, or share the notebook within Snowflake for seamless team collaboration.
These practices are crucial to scaling your data projects and ensuring reliable, consistent insights.
Great Job!
You’ve laid the groundwork for robust and efficient data analysis by setting up a custom schema and configuring Snowflake Notebooks. Ready to take it to the next level? Stay tuned for the next part of this series, where we’ll dive into managing package dependencies and creating Python modules.
Cheers,
Matt
Enjoyed this guide?
If you found this guide helpful, share it with your colleagues and subscribe to our newsletter for more expert tips on mastering Snowflake and AI development.
Want to dive deeper into Snowflake Cortex AI? Check out my previous post to learn how to use Cortex for daily tasks.
